OP
Thread Starter
#61
- Member ID
- #1119
- Messages
- 524
- Reactions
- 741
- Likes
- 132
- City
- Astoria
- State
- OR
- Country
- United States
- Vehicle
- 2019 widebody Redeye
Thread Starter
#61
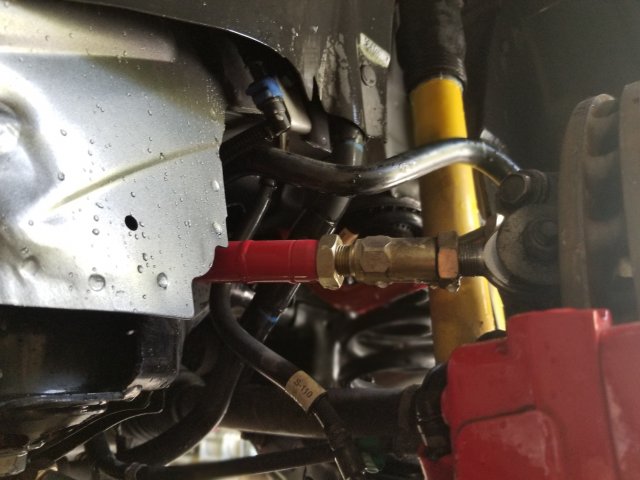
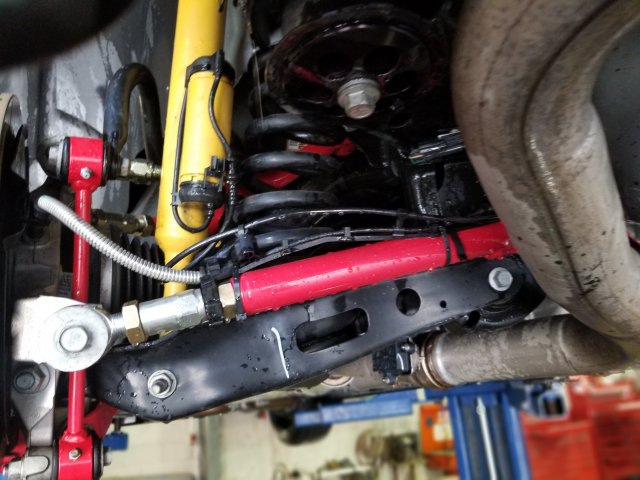
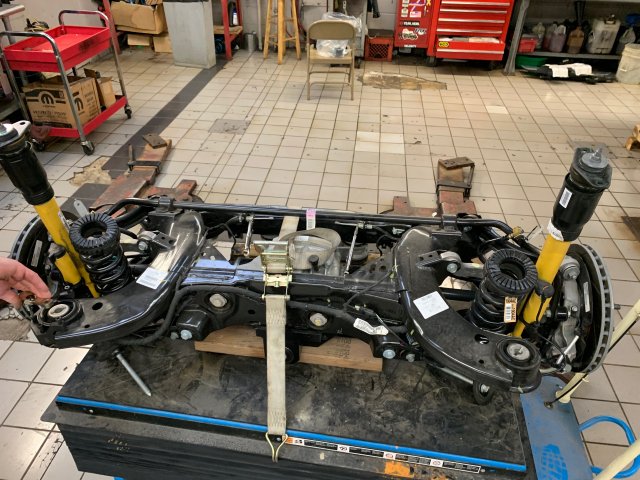
This alignment took adjustable four corners by AAD, plus the BMR rear toe adjustable items. It ran a 3.3 second 0-60 and 11 sec flat on the street with street tires. It don't flipping hop anymore either. It feels out of this world to drive now, big difference from stock.
View attachment 16398
View attachment 16398
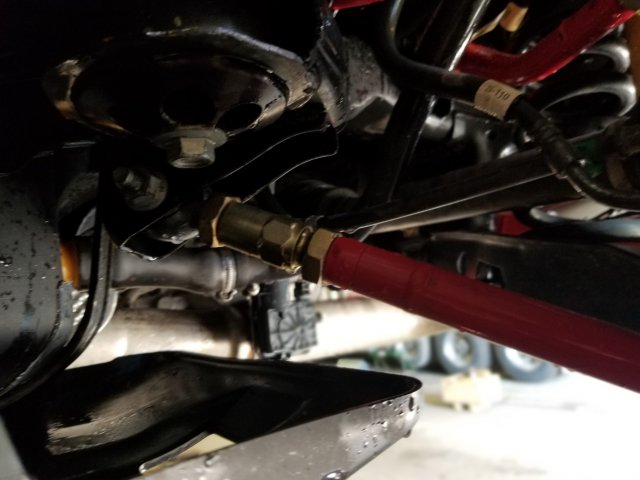
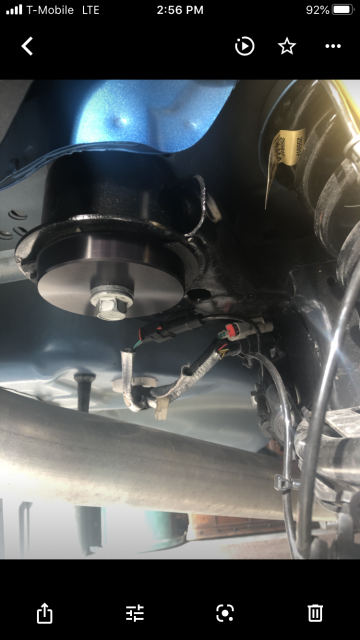
Not that I am going to do anything prior to time slips but the AAD kit is on sale and it doesn't look like that big of a deal to do the cross member drop.


")